






How to Build a Military Ribbon Rack Correctly: A Complete Guide for Every Branch
One of the most common uniform questions across every branch of service is simple:
"Did I build my ribbon rack correctly?"
Whether you are preparing for your first inspection, attending a promotion board, reporting to a new unit, or retiring after a long career, wearing your ribbons correctly is an important part of military professionalism.
Unfortunately, many service members discover errors only after an inspection or ceremony. Missing devices, incorrect ribbon order, and outdated awards are some of the most common issues.
This guide explains the basics of building a military ribbon rack correctly and keeping it up to date throughout your career.
Step 1: Verify Every Award You Have Earned
Before building your ribbon rack, verify your awards using your official military records.
Common sources include:
- DD-214
- Service record entries
- Award citations
- Unit award messages
- Personnel systems such as Direct Access, NSIPS, IPPS-A, or vMPF depending on branch
Many ribbon rack mistakes begin with missing awards or forgotten unit citations.
Step 2: Place Awards in Proper Order of Precedence
Military ribbons are not worn in the order they were earned.
Each branch publishes an official order of precedence that determines where every ribbon belongs on your uniform. Personal decorations typically appear before unit awards, campaign medals, and service awards. The exact order differs slightly between branches.
Using an automated ribbon rack builder eliminates the guesswork and helps ensure compliance with current regulations.
Step 3: Verify All Devices
Devices are often the most overlooked part of a ribbon rack.
Examples include:
- Oak Leaf Clusters
- Service Stars
- Bronze Stars
- Silver Stars
- Numerals
- "V" Devices
- Operational devices specific to individual services
Many awards require devices to indicate multiple awards or specific accomplishments. Wearing the wrong device can result in an incorrect uniform display. The rules for devices vary by branch and award.
Step 4: Understand Your Branch's Row Configuration
Not every branch wears ribbons the same way.
For example:
- Navy and Coast Guard members typically wear ribbons in rows of three.
- Marine Corps members may wear rows of three or four depending on configuration.
- Army members may use staggered rows with spacing between rows.
Building a rack using your branch's standards is essential for maintaining a professional appearance.
Step 5: Decide Between Standard, Thin, and Magnetic Thin Ribbons
Modern service members have several options available.
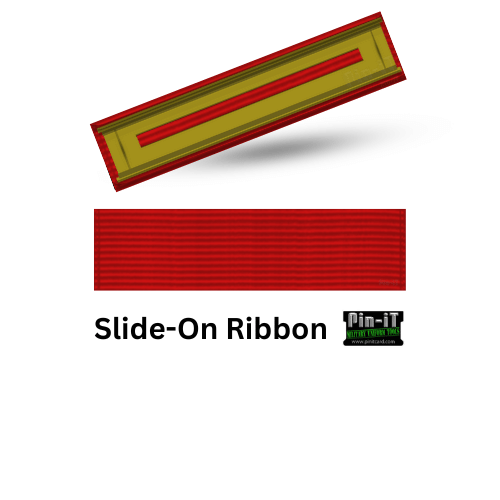
Standard Slide-On Ribbons
Traditional ribbon bars remain the most common option and are easy to replace as awards change.
Thin Ribbons
Thin ribbons provide a lower profile appearance and are popular for service dress uniforms and formal events.
Magnetic Thin Ribbons
Magnetic thin ribbons provide the appearance of thin ribbons while allowing individual ribbons to be swapped without rebuilding the entire rack. When new awards are earned, individual ribbons can simply be added or replaced without mailing the rack back for modification.
Step 6: Inspect Your Rack Before Every Major Event
Before inspections, ceremonies, promotion boards, retirements, and military balls, verify:
- Ribbon order
- Device placement
- Attachment security
- Alignment
- Uniform regulations
Small errors are often easy to fix before they become inspection issues.
Final Thoughts
Your ribbon rack represents your service, accomplishments, deployments, and career milestones. It deserves the same attention to detail as every other part of your uniform.
Whether you choose standard ribbons, thin ribbons, or magnetic thin ribbons, taking the time to build your rack correctly ensures you present yourself professionally and in accordance with regulations.
If you are unsure whether your rack is correct, using a ribbon rack builder can help eliminate mistakes and simplify future updates.